
Process
How it works, start to finish.
Five Steps. From Your First Inspection to the Finished Roof.
Step 1: Free Inspection
We inspect your roof, document our findings with photos, and explain any areas that need attention. If everything looks good, we'll let you know that too.
- You'll get
- Photos of what we found
- A straight answer
- Timing
- Call or text any time, 24/7. Forms get an answer within 24 to 48 hours.
Step 2: Review Your Estimate
We'll provide a detailed written estimate outlining the recommended work and costs, so you know exactly what to expect before moving forward.
- You'll get
- A free written estimate
Step 3: Choose Your Materials
Explore your shingle styles, colors, and material options. We'll help you find the right fit for your home, preferences, and budget.
- You'll get
- A recommendation, no pressure
- Timing
- At your pace.
Step 4: Roof Installation
We take care to protect your property, remove the old roofing materials, and install your new roof with attention to every detail.
- You'll get
- A crew supervised on every job
Step 5: Final Cleanup & Walkthrough
We thoroughly clean the work area, perform a final walkthrough, and make sure you're satisfied with the finished project. We'll also provide your warranty information.
- You'll get
- A clean yard
- Your warranty paperwork
- Timing
- When the install is done.
Beneath the Surface: The Layers that Protect Your Home.
A roof is eight layers, not one. Many leaks start with a shortcut in a layer you can't see from the street.
Pick your materials.
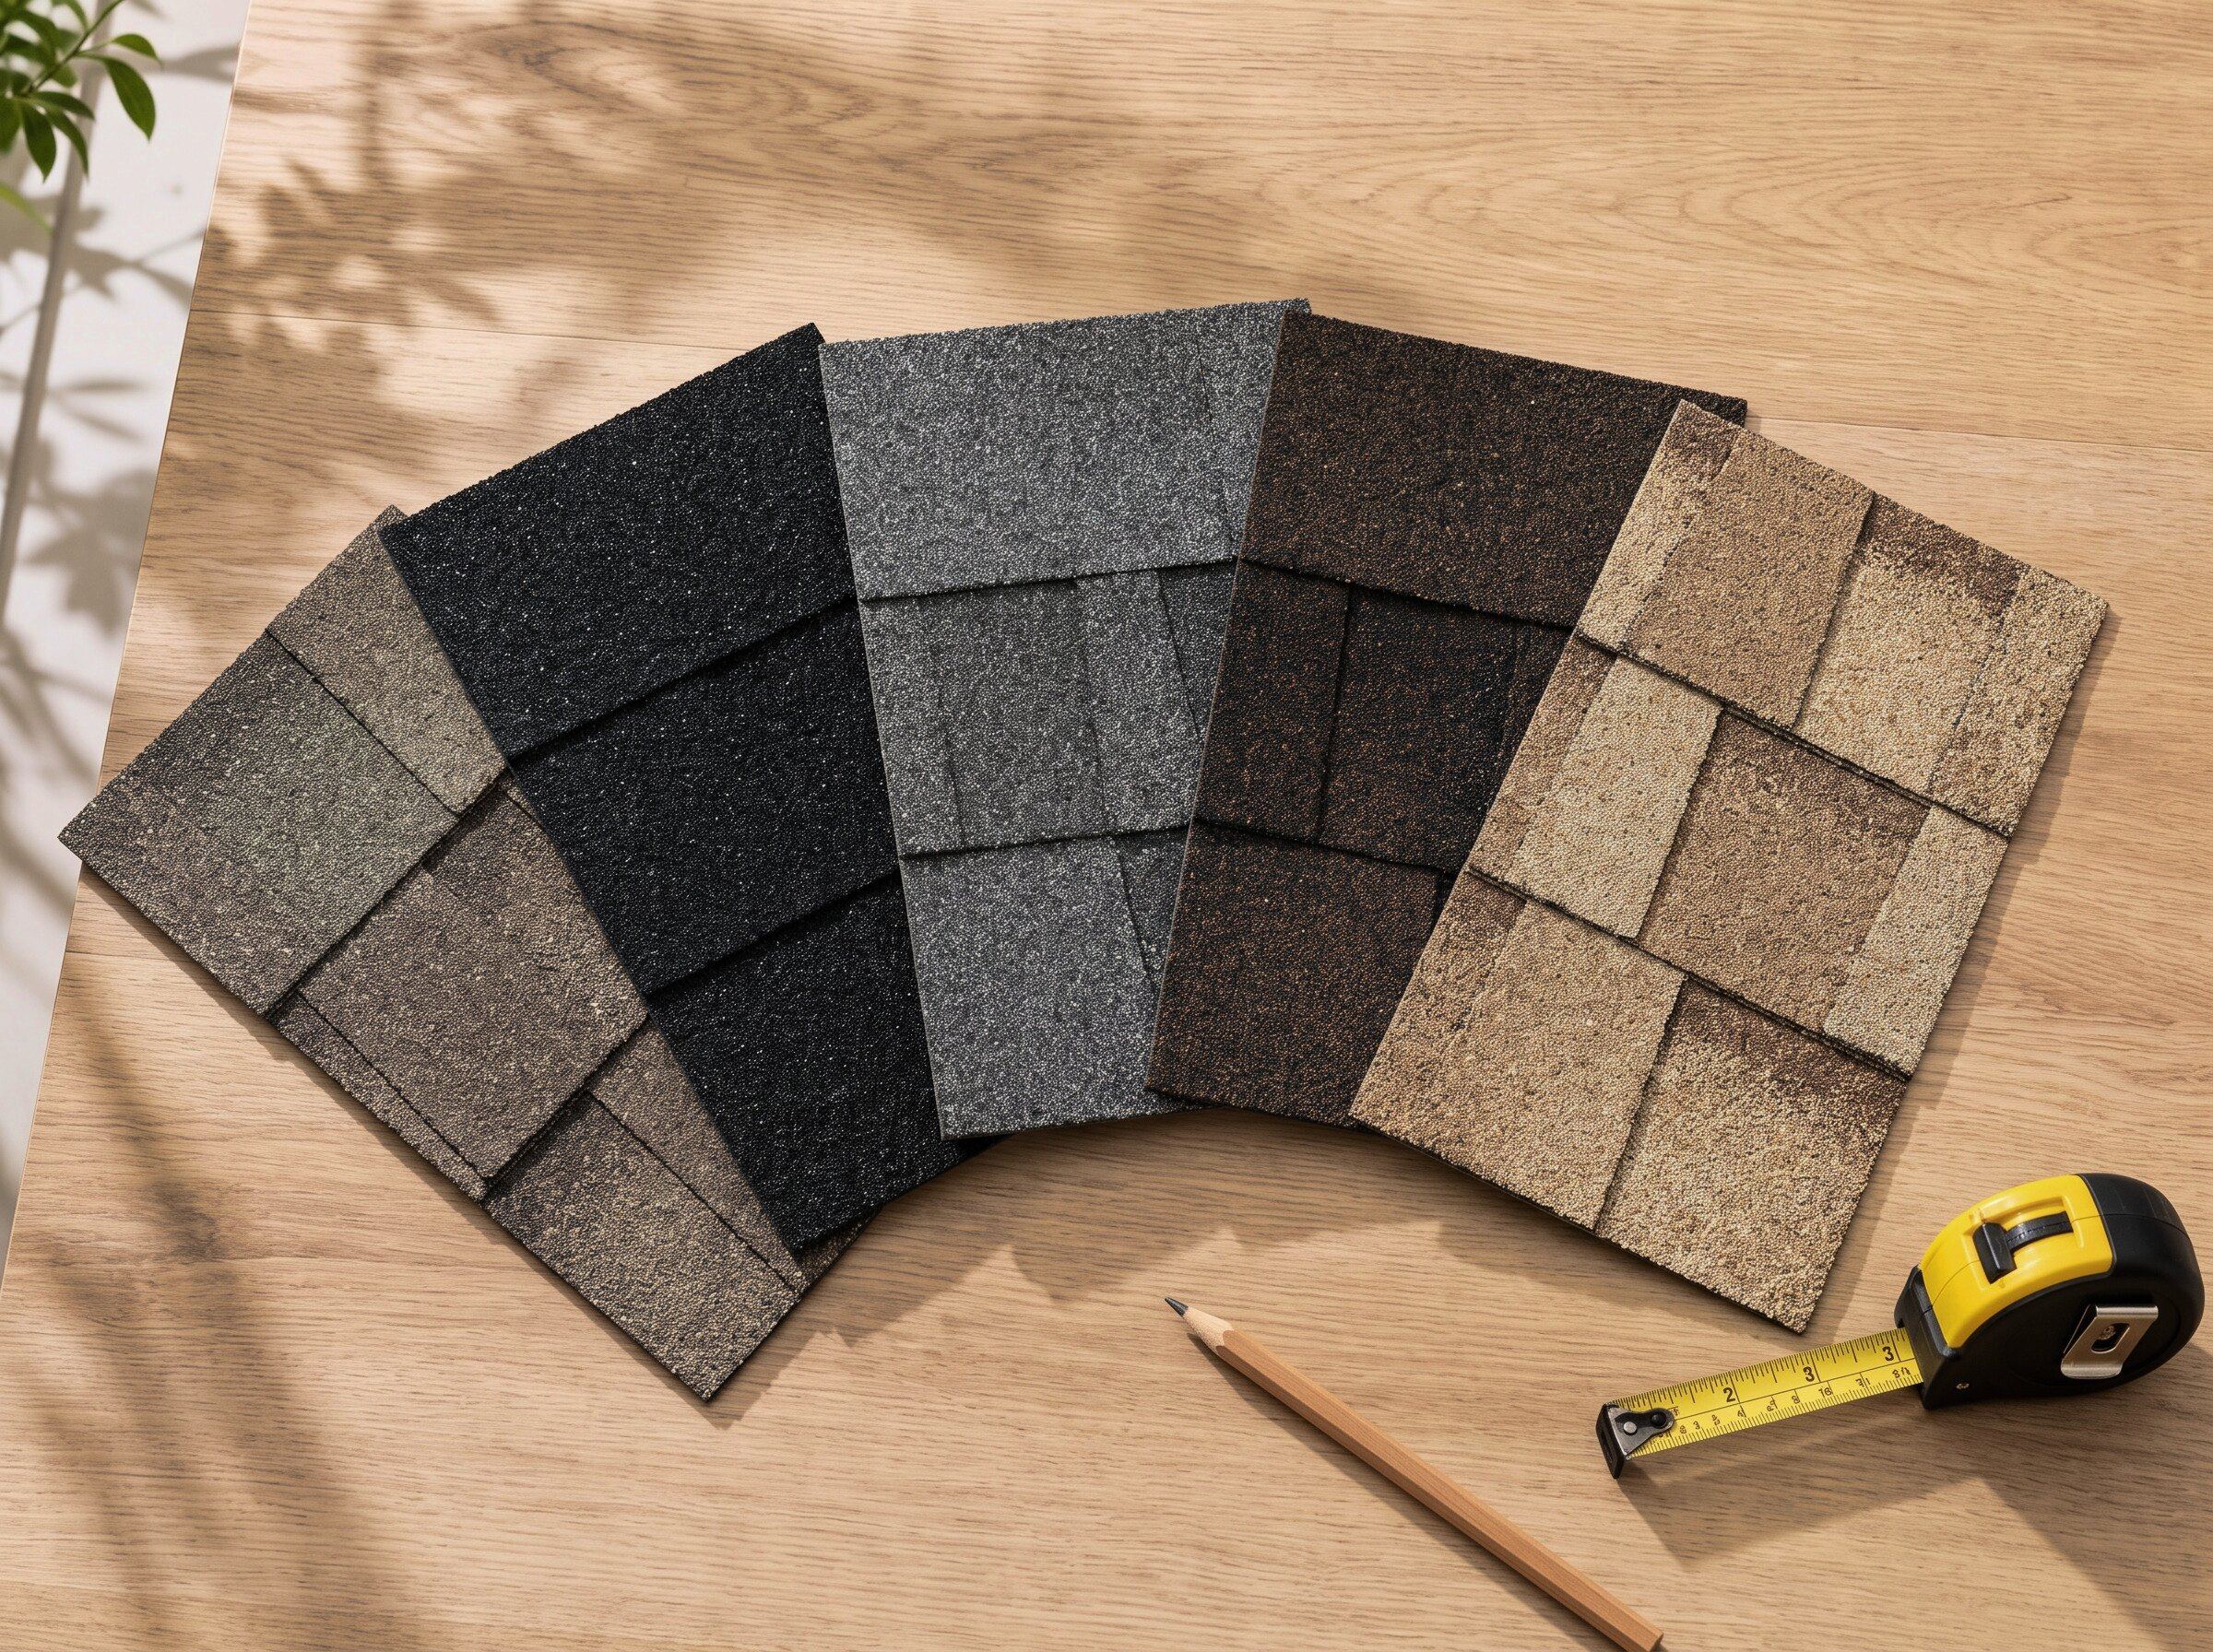
We mainly install Owens Corning architectural shingles. They come in a wide range of colors, usually with a limited lifetime manufacturer warranty.
- Driftwood
- Onyx Black
- Estate Gray
- Brownwood
- Desert Tan
What to Know Before Installation Day
- Expect some noise throughout the day.Roof removal and installation involve hammering, equipment, and crew activity. It's normal for the work to be noisy while our team is on-site.
- Please move vehicles out of the driveway.This gives our crew room for equipment, materials, and debris removal while keeping your vehicles safely out of the work area.
- Make arrangements for pets and small children.For everyone's safety and comfort, we recommend keeping pets and small children away from the work area during installation.
- Secure pictures and fragile items inside your home.Roofing work can cause vibrations throughout the house. We recommend removing fragile items, especially wall hangings and decorations on upper floors.
- Plan ahead for satellite dishes and solar panels.Satellite dishes may need to be temporarily removed and remounted. Solar panel removal and reinstallation must be coordinated with your solar provider before roofing work begins.
Protection That Comes With Peace of Mind
Two Warranties. We stand behind our workmanship, and the manufacturer provides coverage for the roofing materials.
Workmanship
Backed by us, for 5 years
Step one is free.
Book the inspection and we'll take it from there.